华为服务器使用IBMC配置RAID+安装系统(Raid 1+CentOS6.9)2288H V5服务器
一、修改IMBC地址,使其可以采用网线直连进行配置、安装系统
连接显示器,重启服务器
开机按del键
输入默认密码:Admin@9000
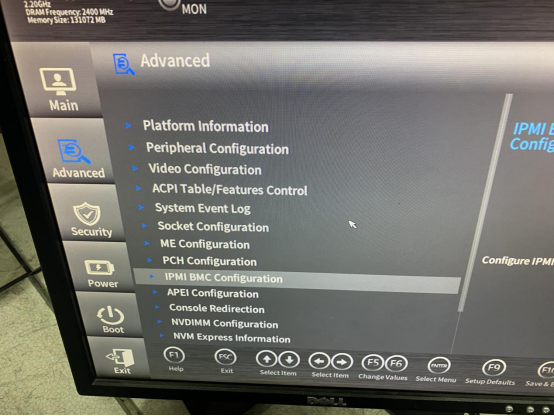
进入blos configuration

选择Advanced——IPMI BMC Configuration
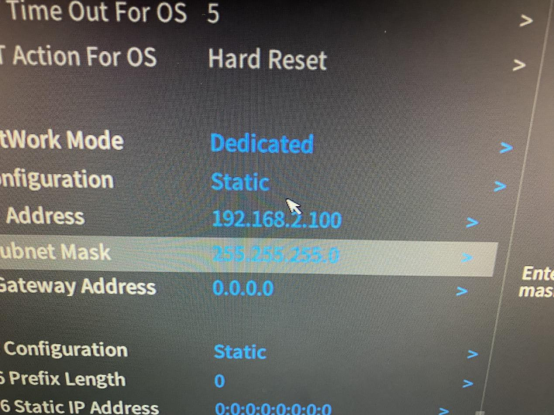
进入到最下边到BMC Configuration,回车
将ipv4地址配置为静态,并设置地址
二、配置raid 1
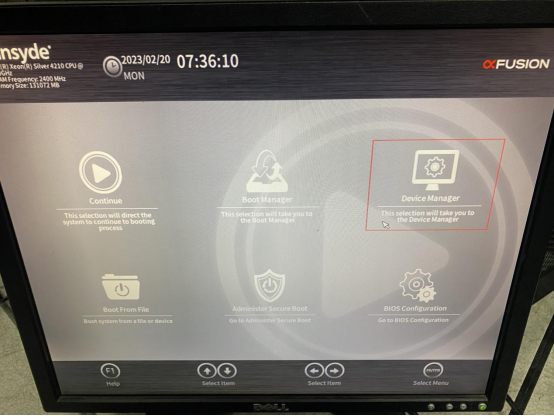
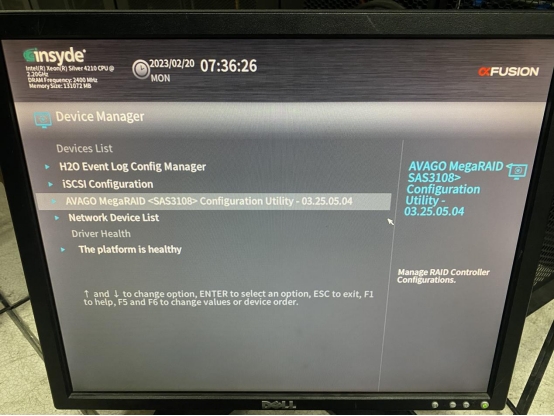
开机按del进入blos界面,选择Device Manager
选择AVAGO开头的磁盘,(raid卡)
选择Main menu
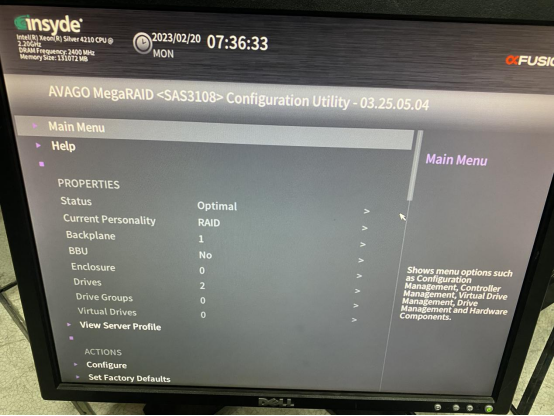
选择Configuration Management
选择Create Virtual Driver
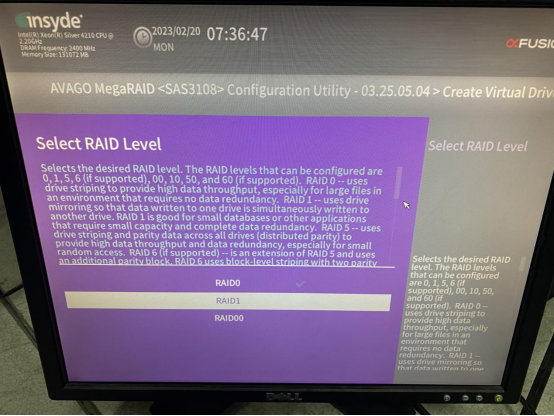
raid模式选择raid 1
选择Select Dirvers
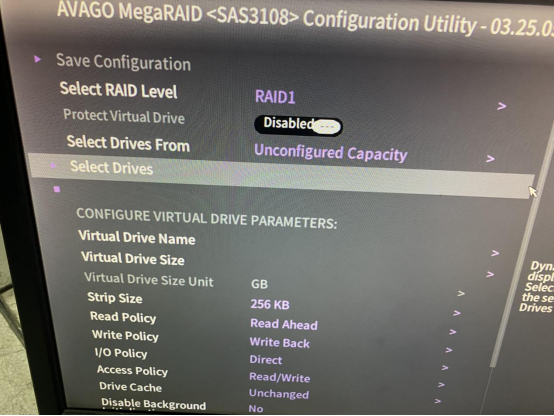
将需要做raid的磁盘选中,点击check all
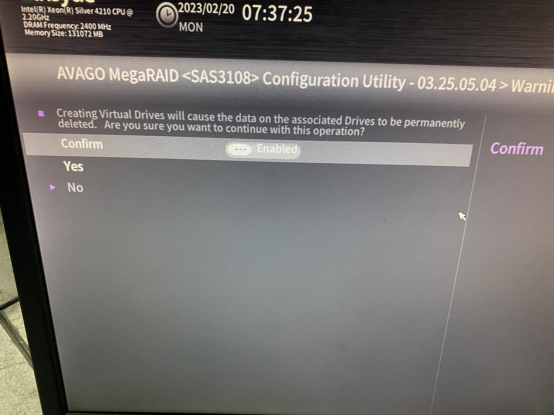
选择Apply Changes,回车
将Confirm勾选为Enable,yes回车,raid配置保存成功
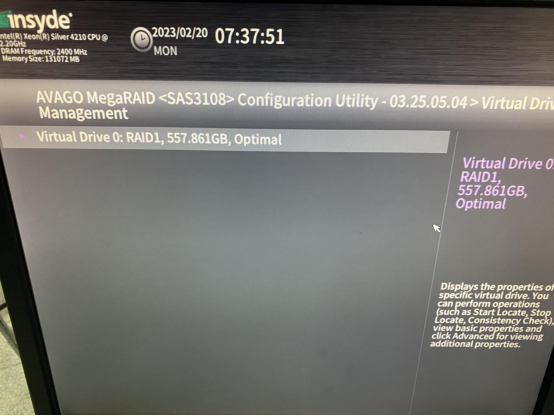
在Virtual Drivers Management查看raid状态
三、安装操作系统
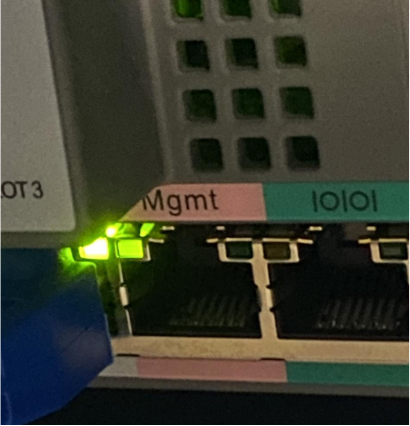
用网线连接服务器的Mgmt端口,另一端插入电脑
电脑IP配置为IBMC同一网段的任意IP(192.168.2.100除外)
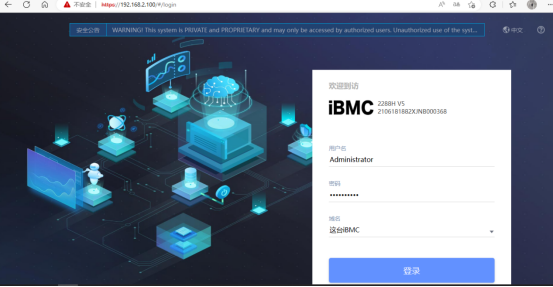
登录
输入IBMC连接地址:192.168.2.100
默认账号:Administrator
默认密码:Admin@9000
使用HTML5集成远程控制台(独占)方式进入虚拟控制台
挂载下载好的光驱文件,点击连接

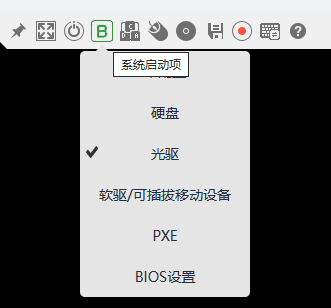
系统启动项设置为光驱
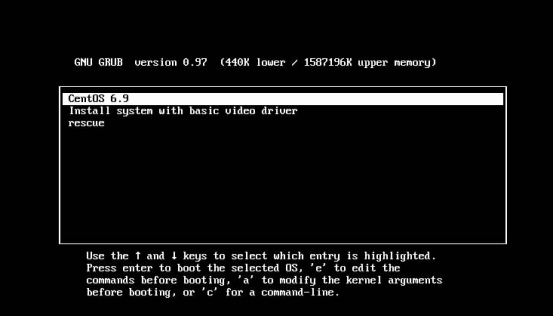
重启服务器进入安装界面
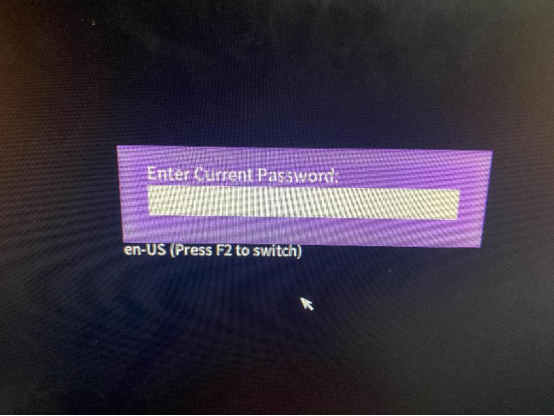
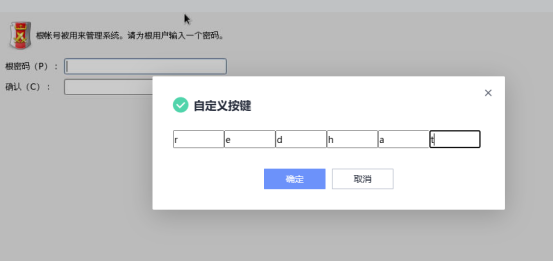
设置密码时出现个别字母无法输入,使用自定义按键输入密码
至此,服务器配置raid1,安装CentOS完成!