Burpsuit配置火狐浏览器代理
下载证书方式
burp自带浏览器访问https://burp/如图所示:

浏览器 访问网址127.0.0.1:8080 如图所示:

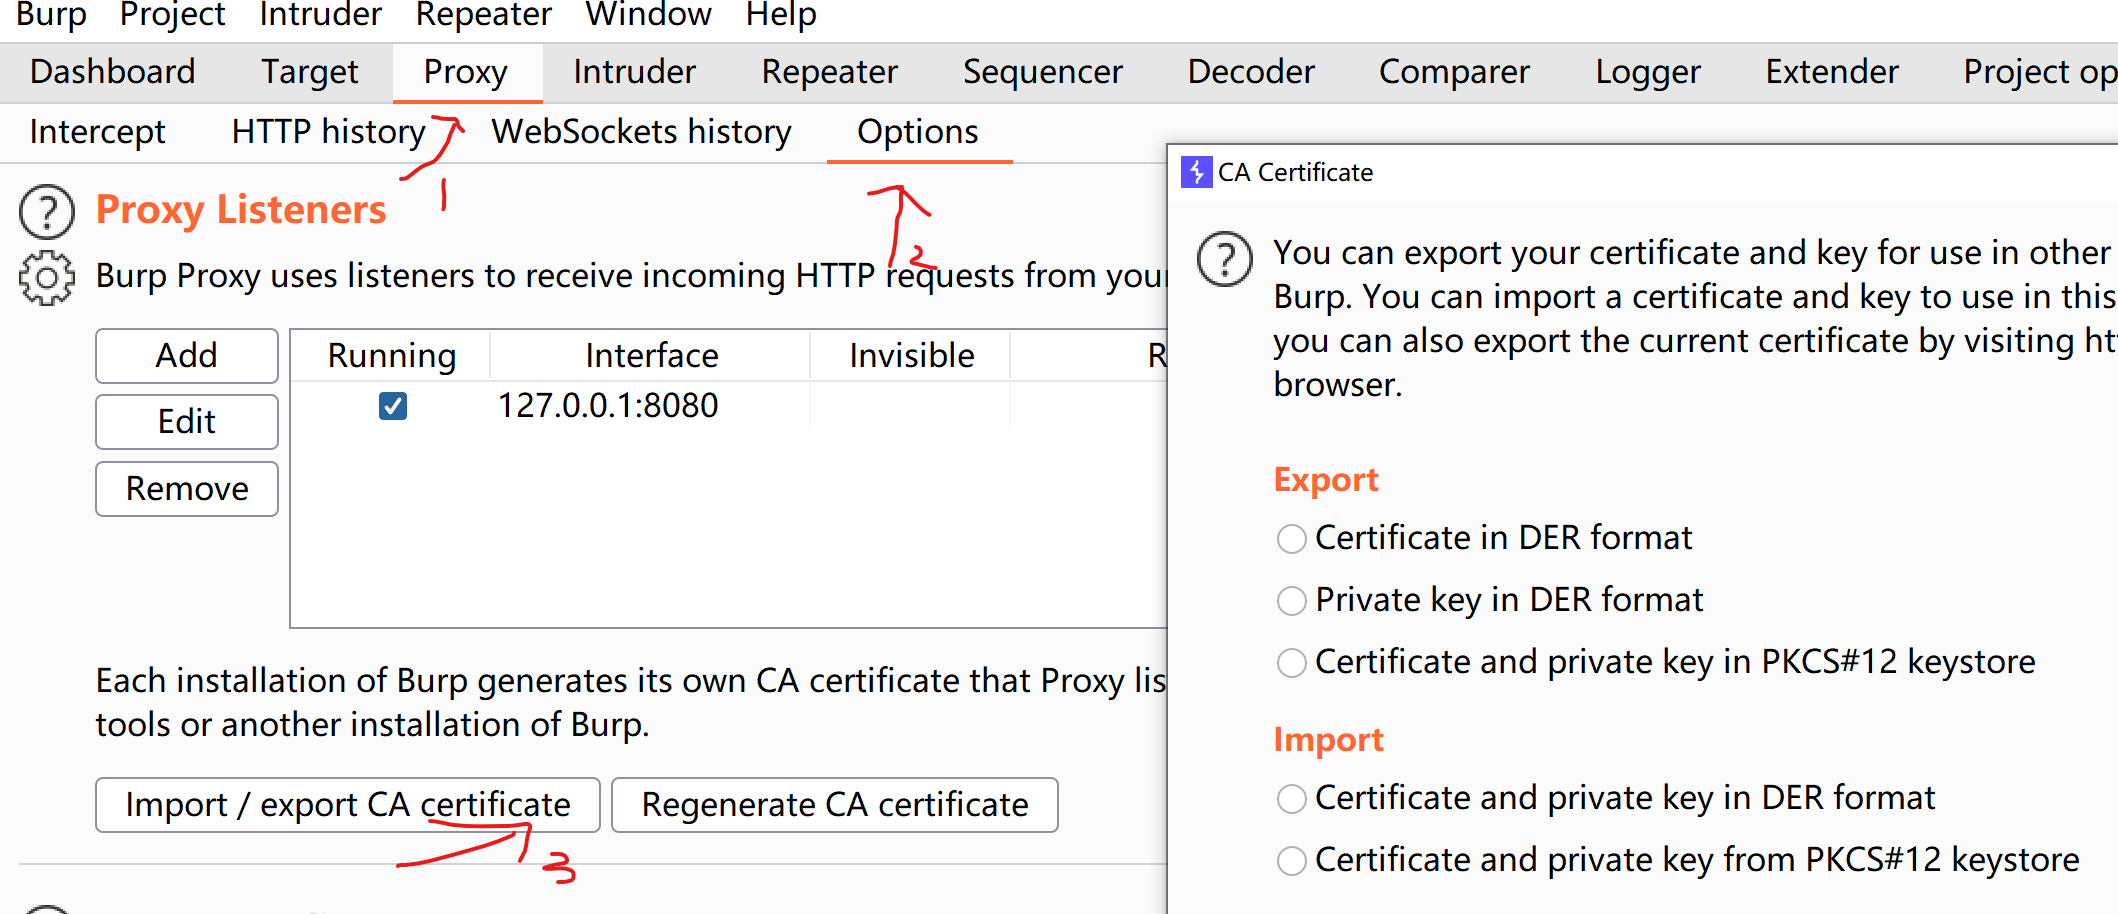
打开burp找到Proxy——options——proxy listeners,可以选择证书下载类型
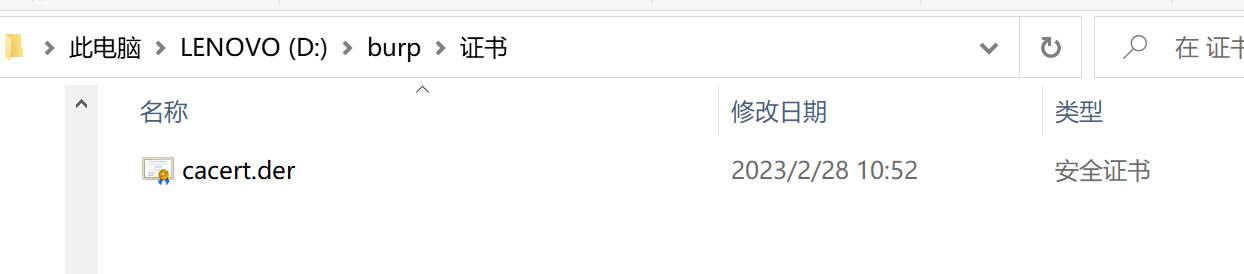
得到的证书(要记得证书的下载位置,或者用everything.exe查找),如图所示:
在火狐浏览器导入证书
打开设置,在搜索栏输入证书,如图所示:
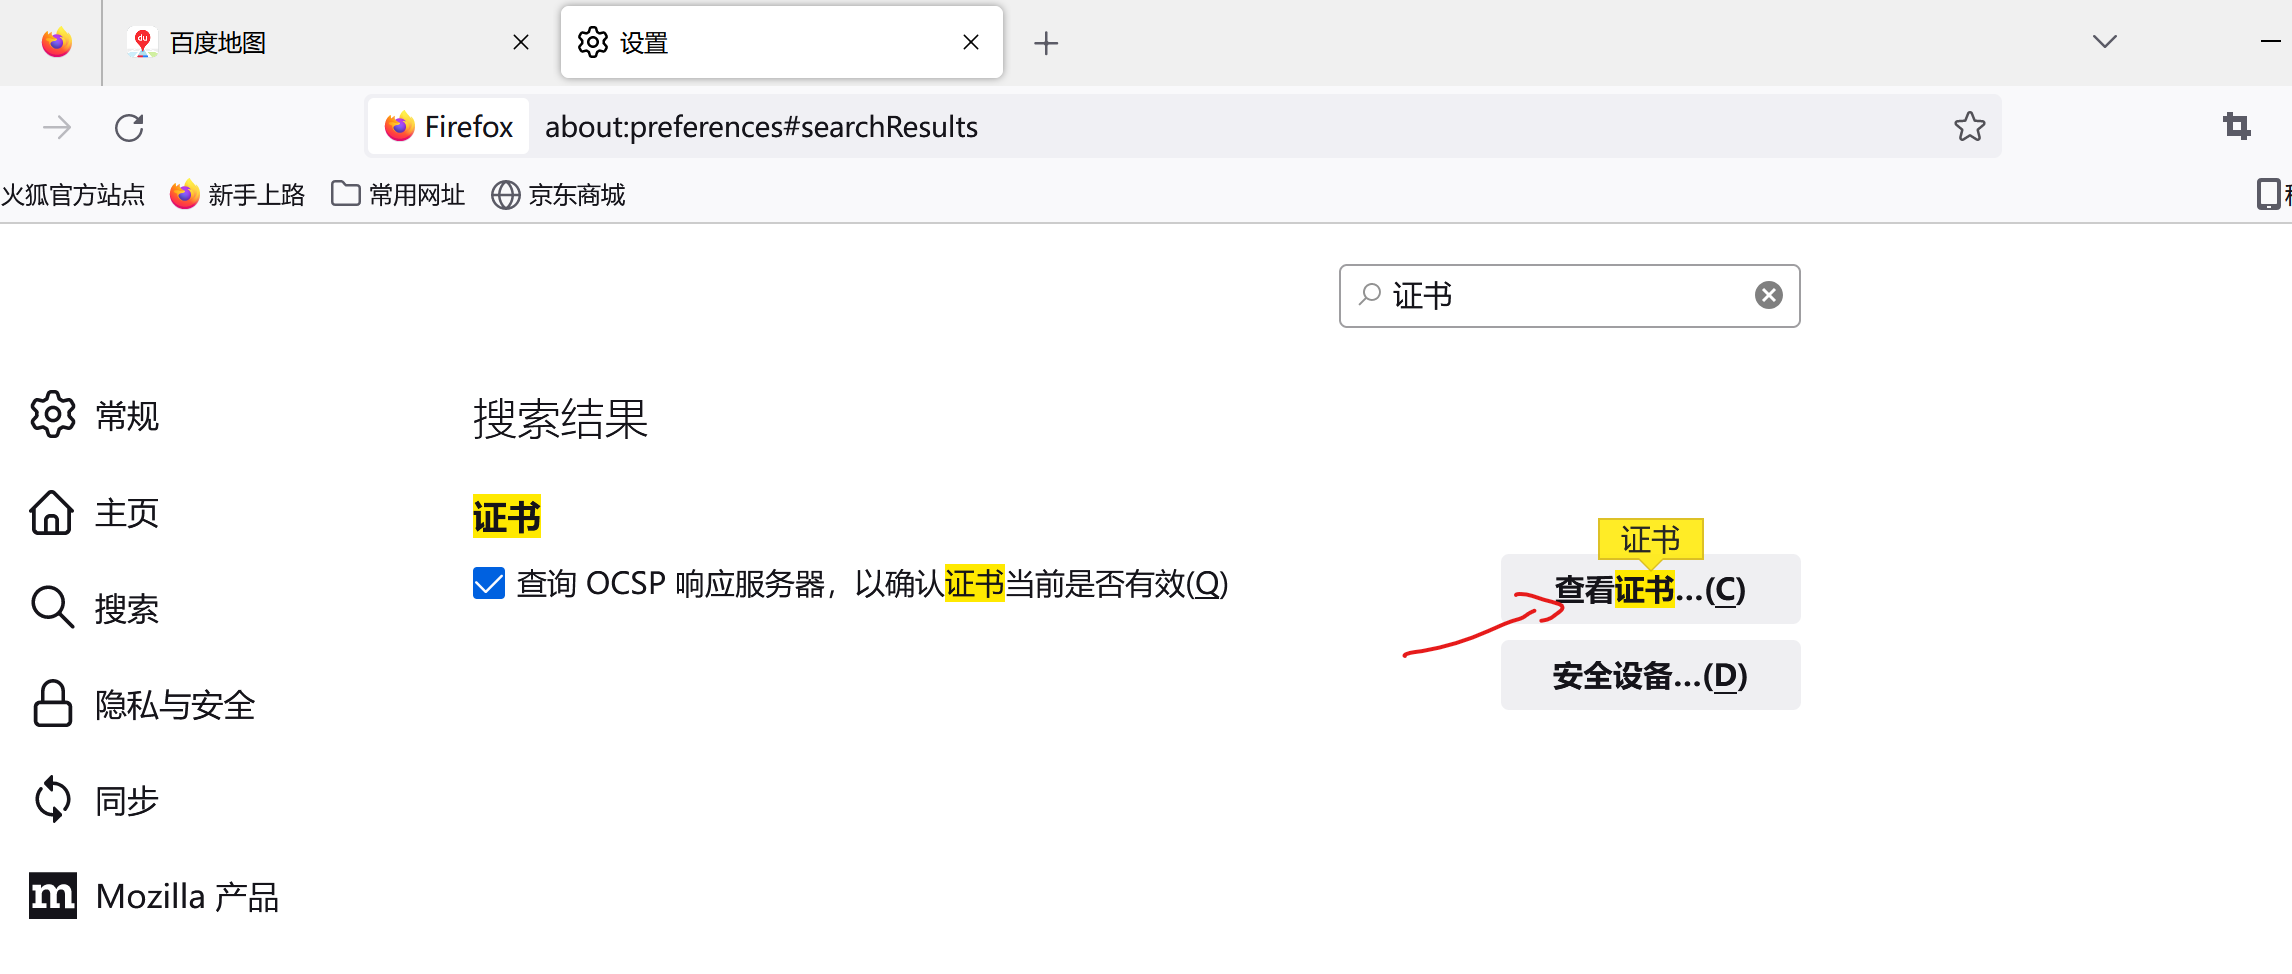
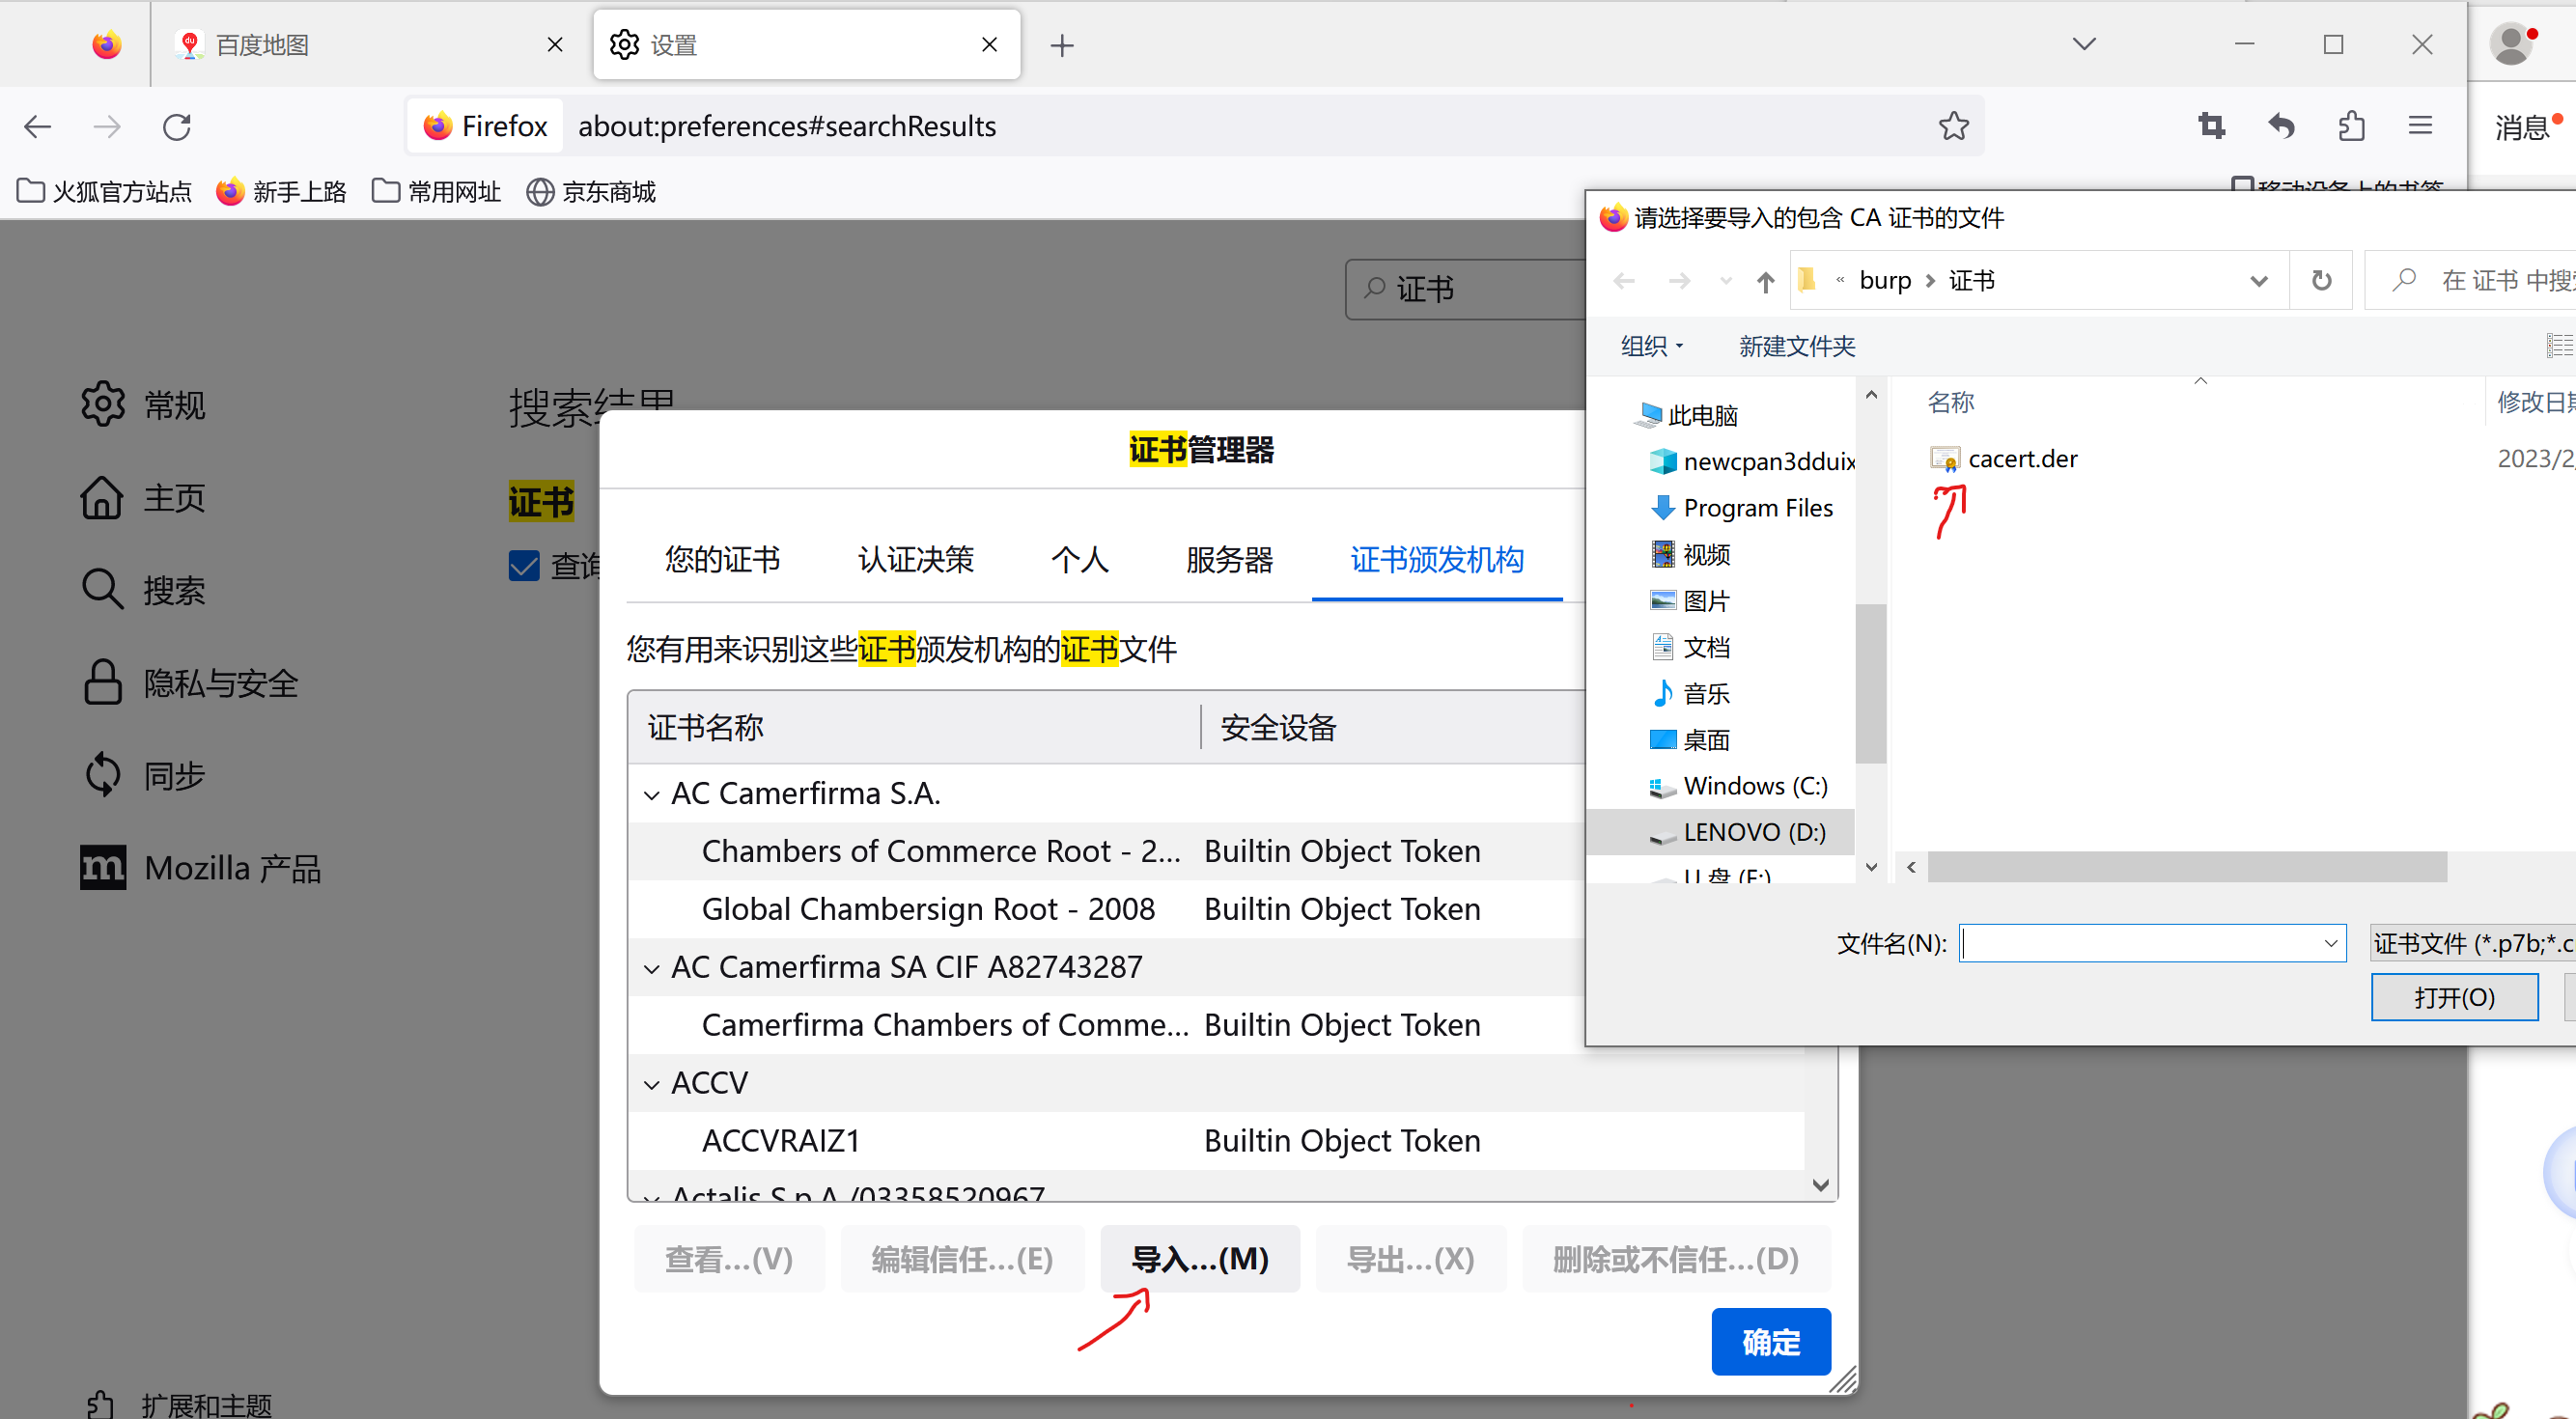
点击查看证书后导入之前下载的证书,点击确定即可
配置代理
打开设置,在搜索栏输入代理得到以下界面,如图所示:
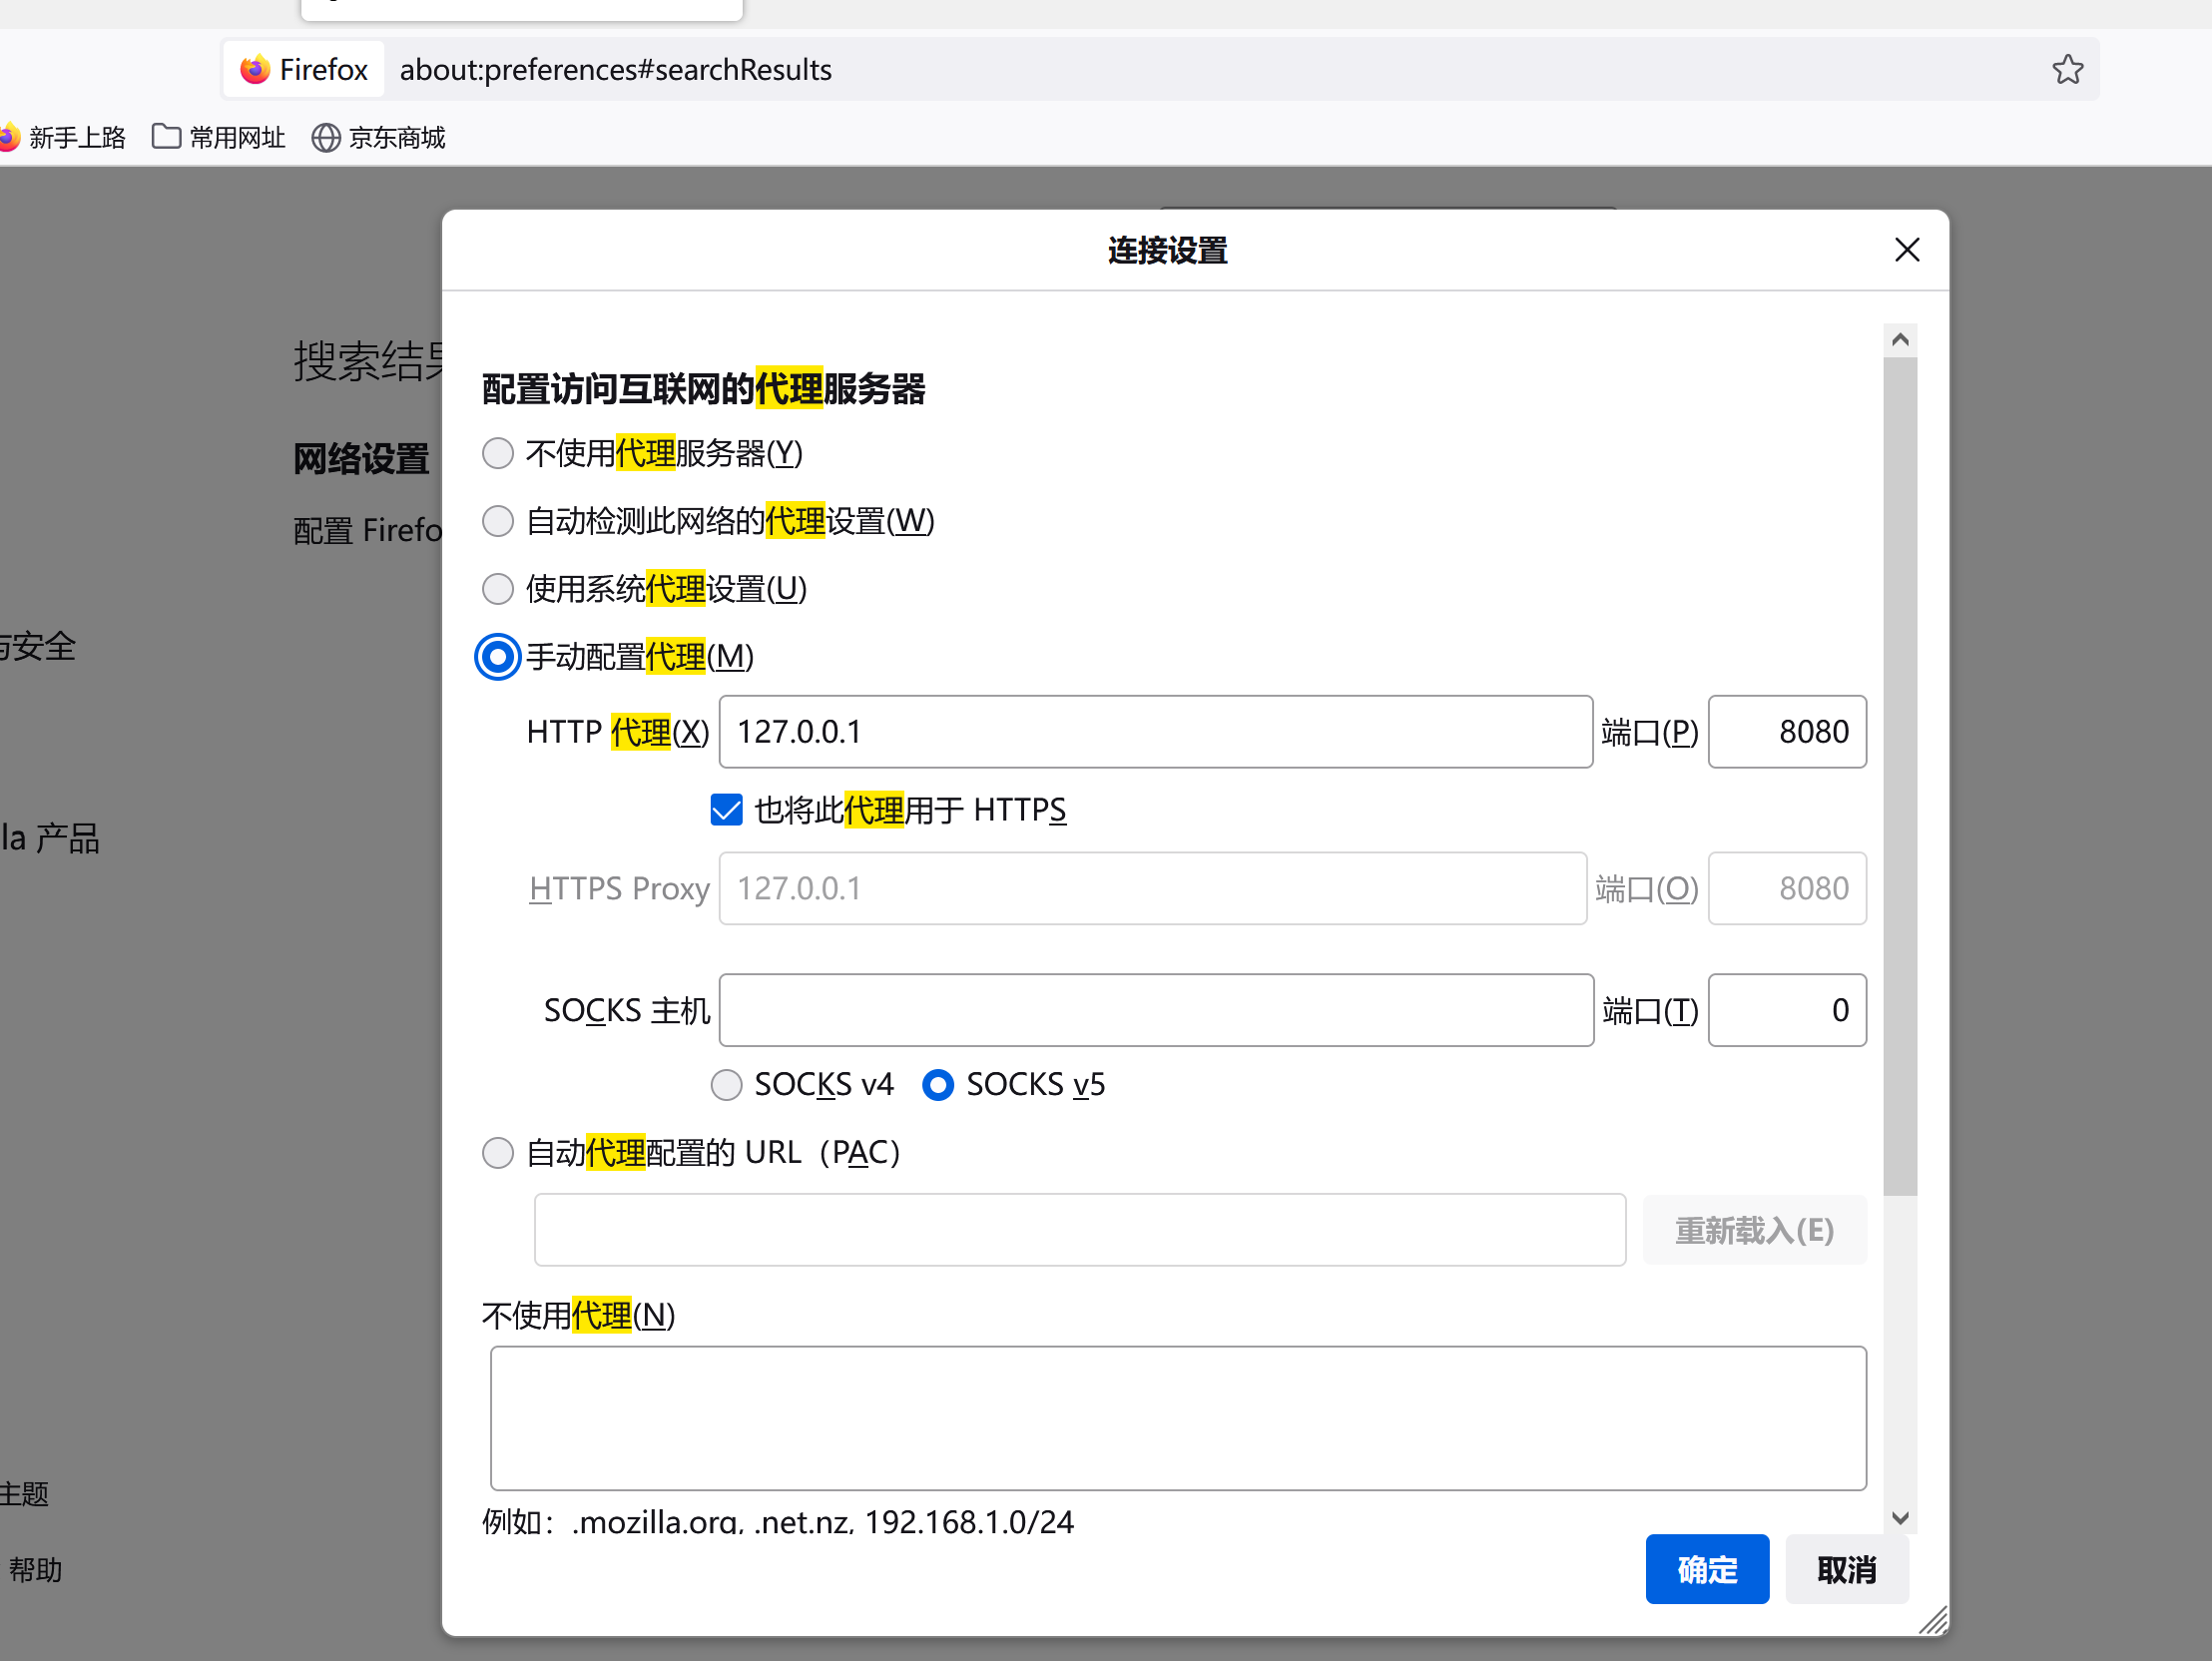
其中,http代理网址为burp上的网址,端口号要保持一致