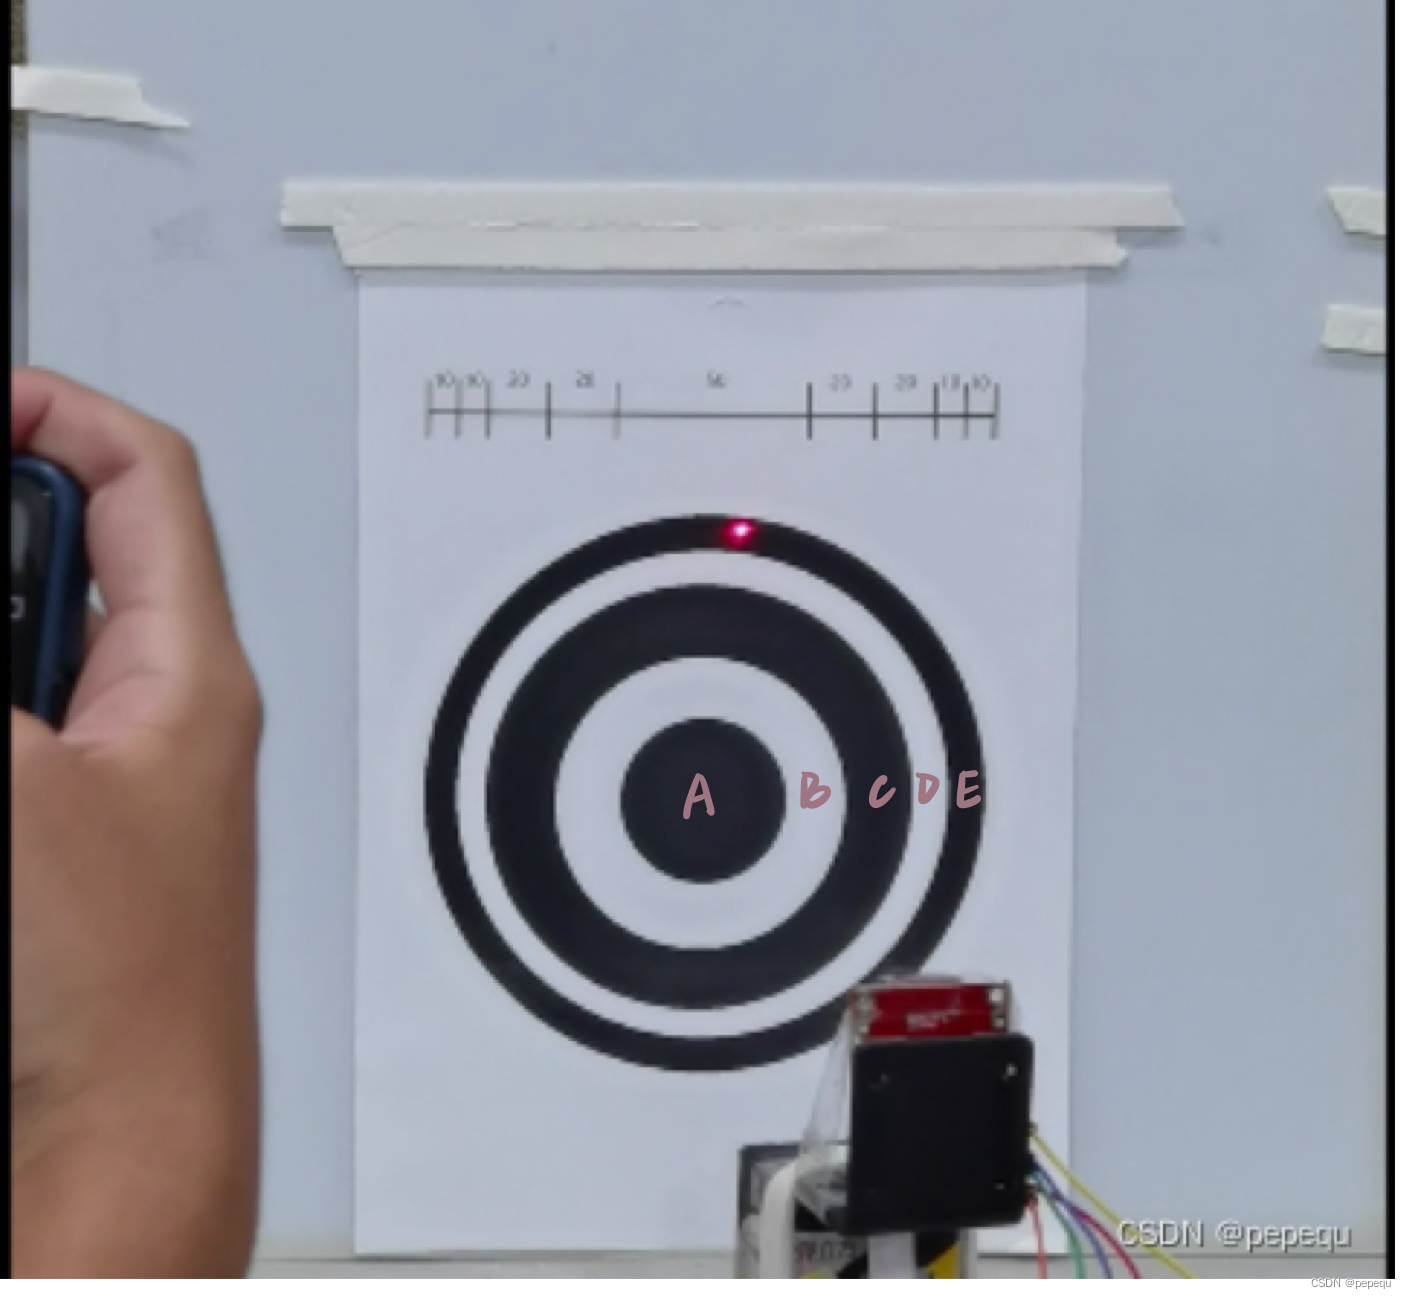
OpenMV激光打靶
题目要求识别形状并且键盘设置控制激光笔走A,B,C等轨道。
OpenMV需要识别图形形状、激光笔位置,以及提高要求中的识别形状的面积等。
这里介绍一下识别激光的方法,主要使用的是色块识别。但是激光点面积很小,而且在黑色区域容易被吞掉。因此对图像本身做一定的处理,比如调节曝光度等。

感光器初始化代码:
sensor.reset()
    sensor.set_auto_gain(False)
    sensor.set_pixformat(sensor.GRAYSCALE) # or sensor.RGB565
    sensor.set_framesize(sensor.  QVGA) # or sensor.QVGA (or others)
    sensor.skip_frames(time=900) # Let new settings take affect.
    sensor.set_auto_exposure(False, 1000)#在这里调节曝光度,调节完可以比较清晰地看清激光点
    sensor.set_auto_whitebal(False) # turn this off.
    sensor.set_auto_gain(False) # 关闭增益(色块识别时必须要关)
识别激光点代码:
def color_blob(threshold):

    blobs = img.find_blobs(threshold,x_stride=1, y_stride=1, area_threshold=0, pixels_threshold=0,merge=False,margin=1)

    if len(blobs)>=1 :#有色块
        # Draw a rect around the blob.
        b = blobs[0]
        #img.draw_rectangle(b[0:4]) # rect
        cx = b[5]
        cy = b[6]
        for i in range(len(blobs)-1):
            #img.draw_rectangle(b[0:4]) # rect
            cx = blobs[i][5]+cx
            cy = blobs[i][6]+cy
        cx=int(cx/len(blobs))
        cy=int(cy/len(blobs))
        #img.draw_cross(cx, cy) # cx, cy
        print(cx,cy)
        return int(cx), int(cy)
    return -1, -1 #表示没有找到
这里最重要的是能看见激光点,除了调曝光度之外,还有激光点色域的调节。
这个是我们最终的阈值,L的最大值调到了255。手册上写的L范围理论上是0~125,但在实际运行的时候发现,激光点很白很亮,但摄像头就是看不见,当时调了很久,都是看不见,拍拍摄像头就又看到了。后面调到要生气了,直接把最大值写成了255,竟然识别的很顺畅。于是以后调色域都非常大胆(嘿嘿)。
threshold=[(60, 255, -20, 20, -20, 20)]
STM32+OPENMV激光打靶