使用Docker创建 Nexus 私服,并上传
1.下载 nexus 的镜像
docker pull sonatype/nexus3
2.启动容器并将容器内部/var/nexus-data挂载到主机/root/nexus-data目录。
docker run -d -p 8081:8081 --name nexus -v /root/nexus-data:/var/nexus-data --restart=always sonatype/nexus3
3.关闭防火墙
systemctl stop firewalld.service #停止firewall
systemctl disable firewalld.service #禁止firewall开机启动
4.可以直接访问 http://ip:端口 (启动容器需要等一会,才可访问 大概一分钟左右)
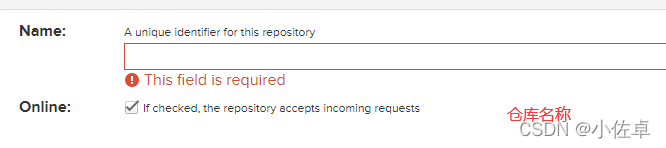
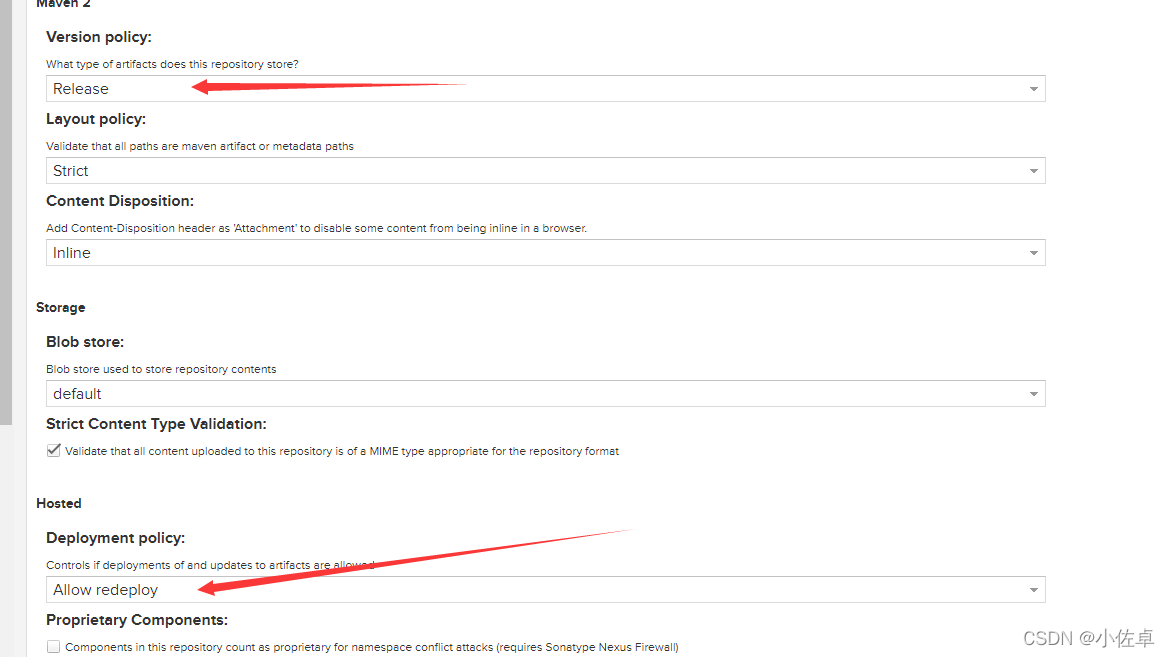
5.创建私服仓库
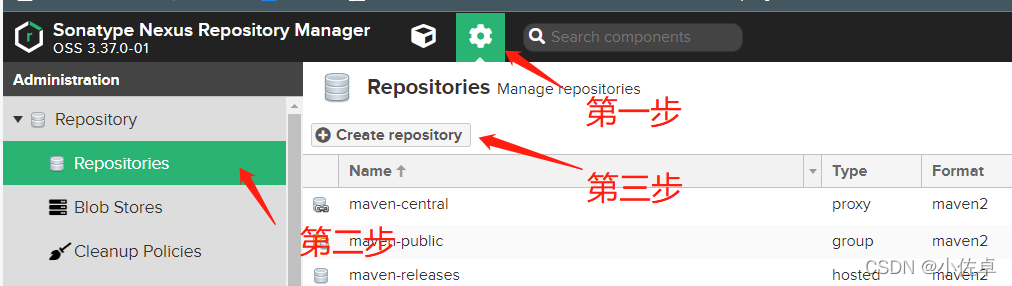
然后选择maven2(hosted)
6.创建私服账户
点击左侧菜单栏的Users菜单,然后点击Create local user.我这里创建了一个用户,账号密码 都是:zhuozhuo
7.然后在本地 Maven中的 settings.xml 新增
<servers>
<server>
<id>zhuozhuo</id>
<username>zhuozhuo</username>
<password>zhuozhuo</password>
</server>
</servers>
8.在Maveng工程中的pom 文件中加上 配置
<url> 标签中对应的 是
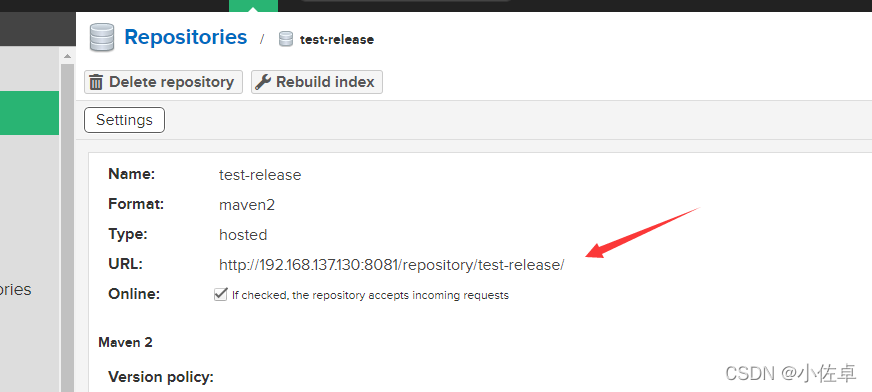
<distributionManagement>
    <repository>
        <!--此名称要和.m2/settings.xml中设置的ID一致 -->
        <id>zhuozhuo</id>
        <url>http://192.168.137.130:8081/repository/test-release/</url>
    </repository>
</distributionManagement>

<build>
    <plugins>
        <!--发布代码Jar插件 -->
        <plugin>
            <groupId>org.apache.maven.plugins</groupId>
            <artifactId>maven-deploy-plugin</artifactId>
            <version>2.7</version>
        </plugin>
        <!--发布源码插件 -->
        <plugin>
            <groupId>org.apache.maven.plugins</groupId>
            <artifactId>maven-source-plugin</artifactId>
            <version>2.2.1</version>
            <executions>
                <execution>
                    <phase>package</phase>
                    <goals>
                        <goal>jar</goal>
                    </goals>
                </execution>
            </executions>
        </plugin>
    </plugins>
</build>
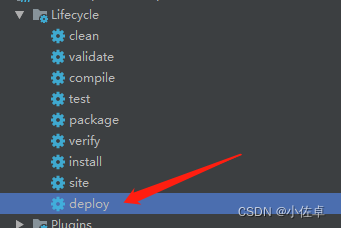
9.最后发布至 私服上即可 ...